How To Clean Stainless Steel Grill Grates
How to Clean Your Barbecue’s Stainless Steel Grill Grates
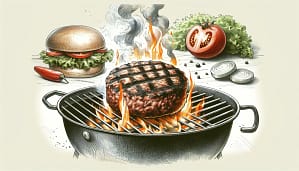
Maintaining your stainless steel grill grates is essential for ensuring optimal performance and longevity. Clean grates prevent food from sticking, ensure even cooking, and improve the flavor of your BBQ dishes. This comprehensive guide will walk you through the steps to effectively clean and maintain your stainless steel grill grates.
Understanding the Importance of Cleaning
Stainless steel grill grates are popular for their durability and resistance to rust and corrosion. However, they require regular cleaning to stay in top condition. Over time, residue from cooked food, grease, and carbon buildup can accumulate on the grates, affecting their performance and the taste of your food. Regular cleaning helps prevent these issues, ensuring your grill is always ready for the next cookout.
Tools and Materials Needed
Before you start cleaning, gather the necessary tools and materials. You’ll need a grill brush with stainless steel bristles or a grill cleaning tool, a bucket of warm, soapy water (use mild dish soap), a non-abrasive sponge or cloth, paper towels or a clean, dry cloth, vegetable oil or a high-heat cooking spray, and rubber gloves (optional).
Step-by-Step Cleaning Guide
1. Pre-Cleaning Preparation
Ensure your grill is turned off and completely cool before you begin cleaning. Safety is paramount, so never attempt to clean a hot grill. Once the grill is cool, remove the grates and place them on a flat surface, such as a workbench or a patio table covered with old newspapers or a disposable plastic sheet. This setup makes cleaning easier and keeps your workspace tidy.
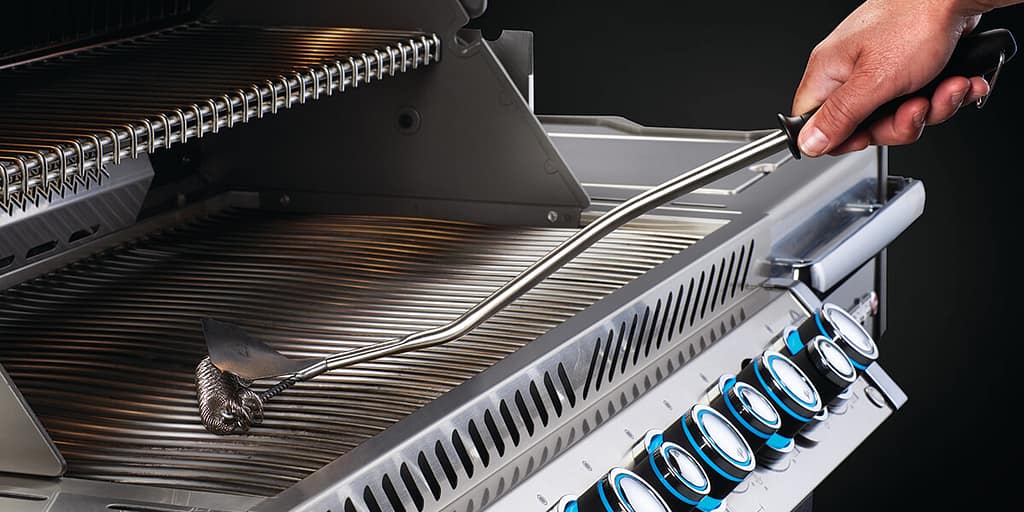
2. Brushing the Grates
Using a grill brush with stainless steel bristles, thoroughly brush the grates to remove loose debris and charred food particles. Brush both sides of each grate. Clean in the direction of the stainless steel’s grain to avoid scratching the surface. For stubborn residue, you might need to apply a bit more pressure but be cautious not to damage the grates.
3. Soaking the Grates
Fill a bucket with warm water and add a few drops of mild dish soap. Submerge the grates in the soapy water and let them soak for about 15-30 minutes. Soaking helps to loosen any remaining grease and food particles, making them easier to remove during the next step.
4. Scrubbing the Grates
After soaking, take a non-abrasive sponge or cloth and scrub the grates. Focus on areas with stubborn stains or buildup. The warm, soapy water should have softened most of the residue, allowing you to clean the grates more effectively. Rinse the grates thoroughly with clean water to remove any soap residue.
5. Drying the Grates
Use paper towels or a clean, dry cloth to thoroughly dry the grates. Ensuring the grates are completely dry is essential to prevent rust and corrosion, even though they are made of stainless steel. You can also leave them out in the sun for a few minutes to air dry.
6. Reinstalling and Seasoning the Grates
Once the grates are dry, it’s time to reinstall them on your grill. To help maintain their condition and prevent food from sticking during future cooking sessions, lightly coat the grates with vegetable oil or a high-heat cooking spray. Use a paper towel to spread the oil evenly across the surface. This step also helps to enhance the grill marks and flavor of your food.
Deep Cleaning for Heavily Soiled Grates
If your grill grates are heavily soiled and the standard cleaning method isn’t enough, you might need to perform a deep cleaning. Here’s how to do it:
First, create a baking soda paste by mixing baking soda with a small amount of water to form a thick paste. Baking soda is a mild abrasive that can help lift stubborn grease and food particles without damaging the stainless steel.
Next, spread the baking soda paste over the grates, focusing on areas with heavy buildup. Let the paste sit for 15-20 minutes to allow it to penetrate the grime. Then, use a non-abrasive sponge or cloth to scrub the grates, and rinse thoroughly with warm water to remove all traces of the baking soda paste. Dry the grates completely before reinstalling.
Maintaining Your Grill Grates
Regular maintenance is key to keeping your stainless steel grill grates in prime condition. Make it a habit to clean your grates after every grilling session. A quick brush and wipe-down while the grates are still warm (but not hot) can prevent residue buildup.
Before each cooking session, lightly oil the grates to prevent food from sticking. This also helps to create those desirable grill marks. Periodically inspect your grates for signs of damage or wear. If you notice any cracks or excessive wear, it might be time to replace them to ensure optimal grilling performance.
Troubleshooting Common Issues When Cleaning Stainless Steel
Even with regular cleaning, you might encounter some common issues with your grill grates. For particularly stubborn stains that don’t come off with regular cleaning, try using a stainless steel cleaner. Follow the manufacturer’s instructions for the best results.
While stainless steel is resistant to rust, it’s not completely immune. If you notice rust spots, use a stainless steel brush to gently remove the rust, then clean and dry the area thoroughly. Applying a light coat of vegetable oil can help prevent rust from returning.
If food continues to stick to your grates despite regular oiling, it might be due to a buildup of carbon or grease. Perform a deep cleaning to remove any residual buildup, and make sure to oil the grates properly before cooking.
Cleaning Grates Doesn’t Need To Be Hard
Cleaning your stainless steel grill grates doesn’t have to be a tough job. By following these simple steps and incorporating regular maintenance into your grilling routine, you can keep your grill grates in excellent condition, ensuring delicious and hassle-free BBQs for years to come. Remember, a clean grill is a happy grill, and taking the time to care for your equipment will enhance your overall grilling experience. Happy BBQing!